Table of Contents: How to Install Electrical Sockets Outside
Adding an outdoor electrical socket provides safe, convenient power for lighting, tools, and outdoor entertainment. Learn how to install electrical sockets outside with our guide, which includes a quick overview and an in-depth, step-by-step breakdown for all skill levels.
Outdoor sockets are essential for powering patio lights, garden tools, and holiday decor, adding convenience and practicality to any outdoor space. While working with electricity may seem challenging, this guide makes the process accessible for DIY enthusiasts with basic electrical knowledge.
For safety, please consult a licensed electrician if you’re ever uncertain. This guide is not a substitute for professional electrical advice, and Lighting Warehouse is not liable for any issues that may arise during installation.
Why Install an Outdoor Electrical Socket?
Before diving into the installation process, let’s briefly explore why having an outdoor outlet is beneficial:
- Convenience: No more running extension cords through windows or doors. An outdoor outlet provides a dedicated power source for lawn equipment, outdoor lighting, and entertainment systems.
- Safety: Properly installed outdoor outlets are safer than using indoor outlets for outdoor equipment, reducing the risk of electrical hazards.
- Aesthetics: Eliminate the clutter of extension cords and make your outdoor space look cleaner and more organized.
- Property Value: Adding outdoor electrical features can increase the value of your home, making it more appealing to potential buyers.
Learning how to install an electrical socket makes DIYing around the home more accessible. It’s a convenient addition that eliminates the need for too many extension cords. Installing outdoor sockets on buildings allows you to easily power garden tools, lighting, and devices and can even add value to your property.
Before beginning the electrical socket installation, make sure you have the following tools and materials:
- Outdoor-rated electrical outlet (GFCI recommended)
- Weatherproof cover
- Outdoor electrical box
- UF-B cable (or conduit if required by code)
- Drill with a spade bit
- Voltage tester
- Wire strippers
- Silicone caulk or outdoor-rated sealant
Quick Overview: Outdoor Electrical Socket Installation
Below is a high-level overview of the installation process for those who want a straightforward guide. For a more detailed step-by-step, scroll down to the next section. Here’s how to install electrical sockets outdoors:
- Choose the Location: Pick a spot, ideally near an existing power source.
- Turn Off Power: Shut off power at the breaker.
- Drill Access Hole: Create an opening for wiring.
- Run the Cable: Feed cable to the outdoor location.
- Install the Electrical Box: Secure a weatherproof box.
- Wire the Socket: Connect black, white, and ground wires.
- Mount the GFCI Socket: Attach a GFCI socket for safety.
- Install the Cover: Place a weatherproof cover over the socket.
- Seal the Box: Use silicone caulk for waterproofing.
- Restore Power & Test: Switch power back on and test the socket.
How to Install Electrical Sockets Outside: A Detailed Step-by-Step
Time needed: 2 hours
- Plan the Installation Location
Choose a location for the outdoor electrical socket that meets your needs and complies with safety codes. Installing outdoor sockets near an existing outlet or power source can simplify wiring an outdoor socket but isn’t required. Make sure the socket is GFCI-protected and at least 6 inches above ground.
- Turn Off the Power
Shut off power at the main breaker to avoid electric shock. Use a voltage tester on any nearby outlets to confirm the power is completely off.
- Drill an Access Hole
Drill a hole through the wall to run wiring to the outdoor socket. If you’re going through a masonry wall, you may need a hammer drill with a masonry bit.
- Run the Cable
Run the cable from the indoor power source to the new outdoor socket location. Drill an opening to feed the cable outside, or use fish tape to guide it through walls. Use conduit for additional protection if required by local code.
- Install the Electrical Box
Mount the weatherproof electrical box in the opening you created. This outdoor-rated box will protect your outdoor electrical socket installation from moisture and the elements.
- Wire the Socket
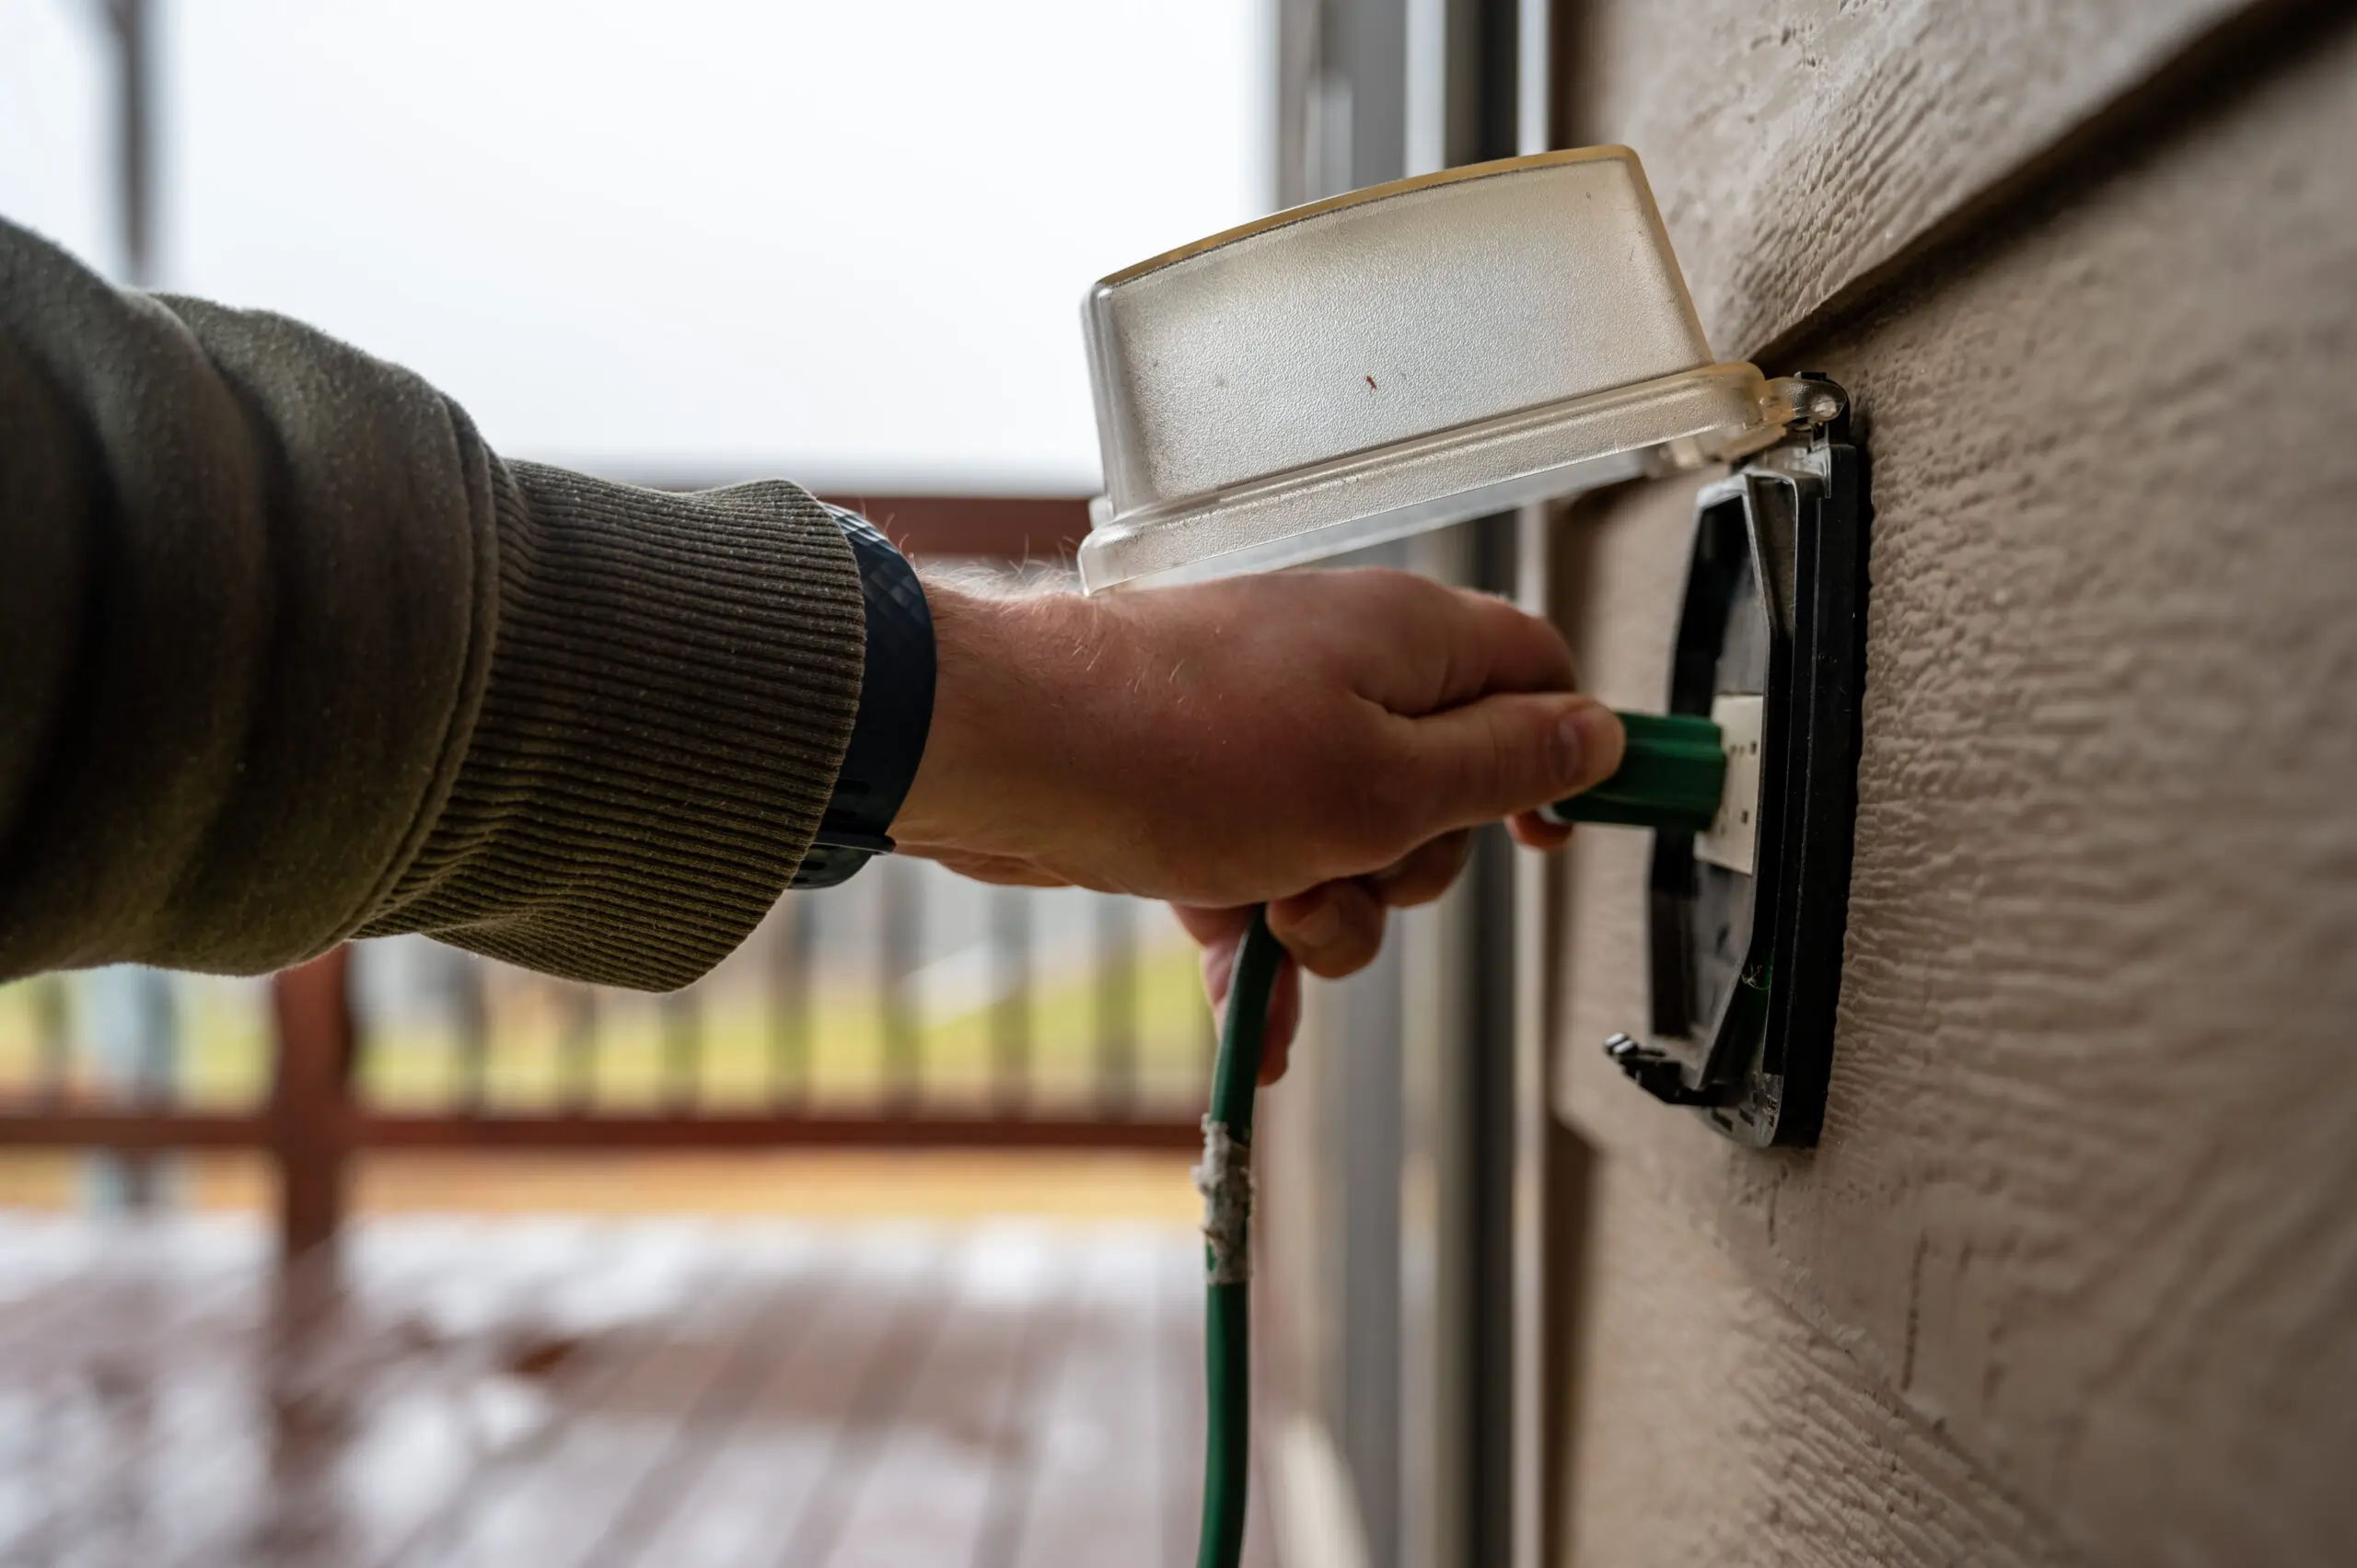
Strip about 6 inches of outer insulation from the cable and ¾ inch from each individual wire. Connect the black (hot) wire to the brass terminal, the white (neutral) wire to the silver terminal, and the ground wire to the green grounding screw. For GFCI sockets, follow the manufacturer’s outdoor socket wiring instructions.
- Install the GFCI Socket and Cover
Secure the GFCI socket in the box and install the weatherproof cover to protect the socket from outdoor conditions.
- Seal Around the Box
Apply a bead of silicone caulk or outdoor-rated sealant around the electrical box to prevent moisture from entering.
- Restore Power and Test
Switch the power back on at the breaker. Use a voltage tester to check the socket for power, then plug in a device, or use the GFCI test buttons to ensure everything is working properly.
- Final Checks and Maintenance Tips
After installation, confirm everything is secure and working. Inspect the weatherproof cover and make sure it closes correctly. Regularly check your outdoor electrical socket for signs of wear, especially after harsh weather, and replace any damaged parts promptly.
A properly installed outdoor electrical socket enhances your outdoor spaces’ usability, convenience, and safety. Follow these steps carefully, and consult a licensed electrician if needed. With regular maintenance, your outdoor socket will serve you well for years to come.
Want to electrify your inbox? Join our Insider list and check out the different landscape lighting options that we have to offer.

 Easy-Install Kits
 Uplights
 Path & Walkway Lights
 Flood & Wall Wash Lights
 Hardscape Lights
 Step Lights
 Outdoor Deck Lights
 Outdoor Bulbs
 RGBW Color Lights
 Downlights
 Underwater Lights
 Bistro String Lights
 Holiday Decorations
 In-Ground Well Lights
 Accessories
 Solar Lights & Portables
 Specialty Lights
 Bollard Lights
 Tape Lights
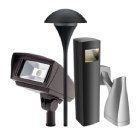 120V Landscape Lighting
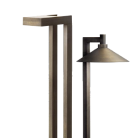 Dark Sky Approved Lights
 Connectors
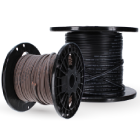 Wire & Cable
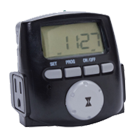 Timers & Control Devices